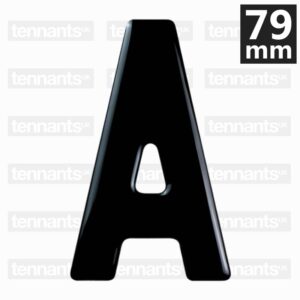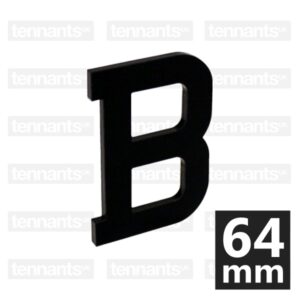


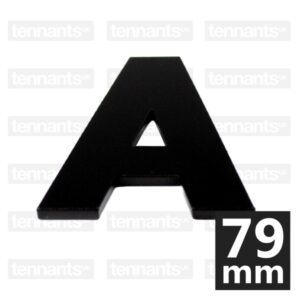
True 3D Letter A Digits
£9.15
This pack of 10 True 3D Letter A Digits in the Charles Wright font are certified to make BSAU145e Number Plates.
Size: Pick 79mm or 64mm Digits.
- Description
- Additional information
Description
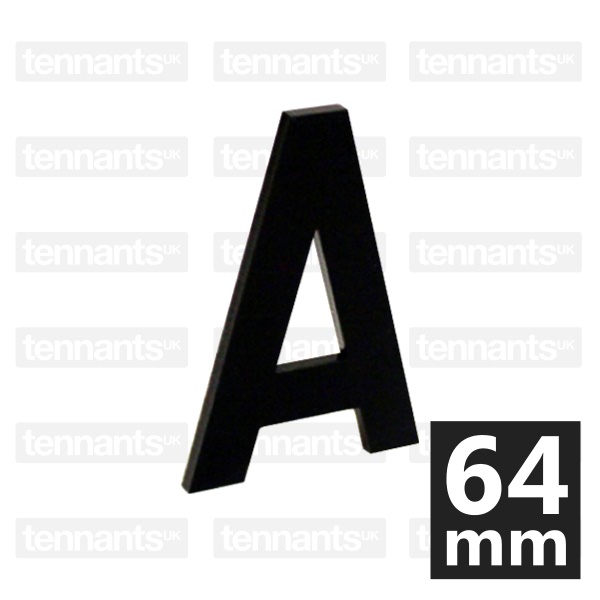
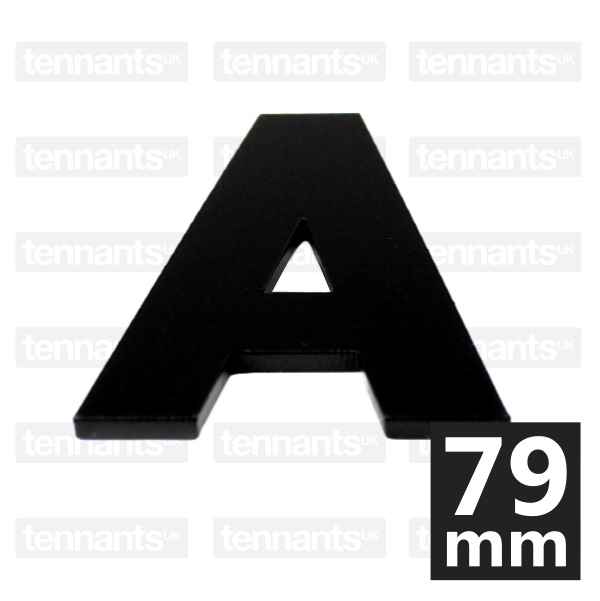
- Pack Contents: 10 x Letter A
- Type: True 3D Digits
- Sizes: 79x50mm / 64x44mm
- Colour: Solid Black
- Compliance: BSAU145e
- Includes: High-Tack Adhesive with Protective Covers.
This pack of 10 True 3D Letter A Digits are made using the Charles Wright font. True 3D digits create upsell & customisation opportunities for retailers, motor factors & part-stores. Creating a finished product which is much sought after by car enthusiasts. And are perfect for most vehicles, with 64mm for motorcycles & 79mm for everything else.
Every True 3D Number Plate is certified to BSAU145e standards when mounted on Tennants components, just like our 3D GEL digits. But this is subject to the correct use of digits on specific constructions, like Film, Reflective or 3-Part Plates. Only then, can we guarantee your number plates are road legal and standards compliant.
BSAU145e Compliant 3D Number Plates
This is a quick guide to making a True 3D Number Plate using our stick-on digits. For a more detailed guide check out the NP Knowledge Base on our main website.

True 3D Assembly Guide
To start, simply make your number plate as normal. Ensure you remove the protective cover from the acrylic face. And always bond your components together using a jig and roller. Follow each step and your plate will be done in no time.
1: Use a Clean Work Area & Prepare A Digit

Start by placing your number plate flat on a clean and well lit work surface. Or set up & configure your stencil mount for the number plate size & format. Now remove the carrier film from the rear of the first digit. This is the side with the specialist adhesive, and is completely flat without bevelled edges.
2: Align Digit with Printed Registration

Now, using the printed registration as a guide, position your digit carefully above a character. Since the number plate uses the same font, it's perfectly sized to be used as a alignment guide.
3: Apply Digit Firmly to the Acrylic Face

Next, press the black digit down firmly into place. Hold it on the surface for a few seconds, so the high-tack adhesive can bond. Simply repeat these application steps for each digit of the registration mark.
Note: Digit adhesive is pressure sensitive and is not be removable once placed.
4: Remove Protective Film off Digits

Once you've fitted each digit, it's now time to remove the carrier film from them. This clear film protects the digits from getting dirty or scratched before use.
Wait a few minutes after mounting for the glue to cure, before handling or fitting to a vehicle.
Additional information
| Dimensions | N/A |
|---|---|
| 3D Digits | True 3D Digit, 3D Letters |
| Product Brand | Tennants UK |