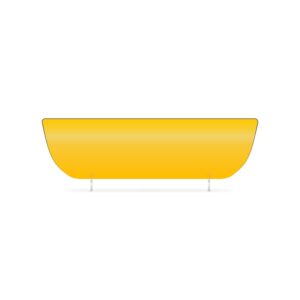
10 Yellow 640x215mm Dry Reflective

£32.00
This 640x215mm Dry Reflective is used to make Reflective Shaped Number Plates & comes in packs of 10 sheets.
![]()
- Description
- Additional information
Description
This pack of Yellow 640x215mm Dry Reflective can be printed on to make shaped number plates. Not only is it UV stable and resistant to fading from sunlight or weathering. But it’s also boasts a finish that helps prints bond to its surface. Being dry faced, this component comes without an adhesive coating.
- Size: 640x215mm
- Quantity: 10 Dry Reflective Sheets
- Colour: Yellow
- Printable: Yes
- For: Shaped Number Plates.
- Reflective Plates: Laminate to Clear Shaped Acrylic.
To make shaped plates with our 640x215mm Dry Reflective, you’ll need a printer capable of taking oversized sheets. And our Signs Software, since it generates an alignment and trimming guideline for you. Once printed, you laminate it to your Shaped Acrylic Face and trim away any excess.

Printing Shaped Number Plates
LG Signs makes shaped plates using templates & images, which include a guideline to help with assembly.
You simply select a template in our software. Enter the registration and print it out. Then you combine your printed sheet with its matched component. To finish off, you will have to trim away any excess media. For a complete guide to printed shaped plates, try our Knowledge Base.

Combining Components & Assembly
Whenever you make a printed number plate, we recommend using a jig and roller for a professional finish.
Reflective Plates
- Place your Printed Reflective face up onto the jig.
- Fold back a few centimetres of the adhesive cover on a Shaped Acrylic Face.
- Place the Acrylic above the reflective, Adhesive side facing downwards.
- And using the printed Guideline, position it over the reflective sheet.
- Carefully join the components together at the Exposed Adhesive edge.
- Then slide the two parts towards the Rollers at the end of the jig.
- Slowly Wind the arm so the components are fed through the roller.
- The adhesive cover should be Removed while the roller bonds the parts together.
- Finally using a craft knife, Trim away all the excess reflective.
- And remove the Protective Cover from the Acrylic Face.
Additional information
| Dimensions | 640 × 215 × 0.4 mm |
|---|---|
| Media Type | Dry Reflective, Reflective Plates |
| Product Brand | Tennants UK |